

Getting Started
This is a quick tutorial to get you up and running with Oriador Rota as quick as possible. Follow the links to other sections of the online help, and feel free to read around the topics covered there. Only the basics will be covered here.
On installation, Oriador Rota will create a default user with a blank password. You will be logged in automatically as long as the password and user name are unchanged. (See: Users | Logging In).
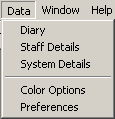
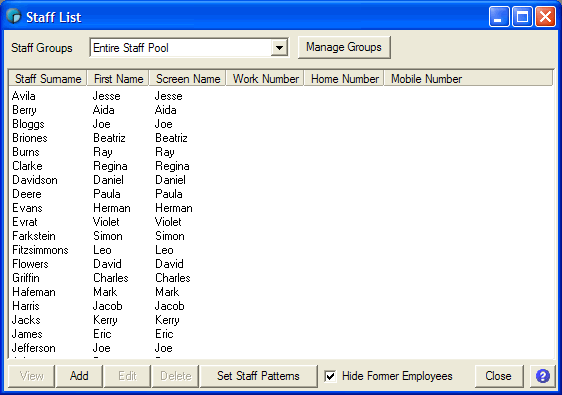
The first thing you have to do is input some staff details, until you tell Oriador Rota about your staff, any Rotas you try to create will be empty. From the Data menu, click Staff Details.
That will take you to the Staff List. From there you can add, edit and remove staff. (See: Staff List | Adding and Updating Staff).
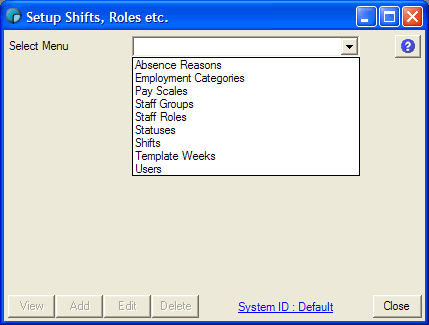
Oriador is supplied with a basic shift template for a day (Working from 9am to 5pm) and for a week (Working 9am to 5pm, Monday to Friday). Also, a default Employment Category is created (Working 9am to 5pm, Monday to Friday). (See: Shifts | Week Templates | Employment Categories).
As all staff must have an Employment Category, you have probably used the default for any new staff you have just created. Don't worry, this is can be changed later, and is only used to setup a default working pattern, and to determine how many hours will be allocated to the staff member if they have a paid whole day Status - such as Holiday or Training days. (See: Staff Working Days | Status).
Even though the default pattern is created based on the employment category, it is not fixed. You can change the length of the work pattern, to allow for advanced rotating work patterns, and you can use other shifts that you create to set up preset working days. You can also define a working day manually. (See: Interacting with Timelines).
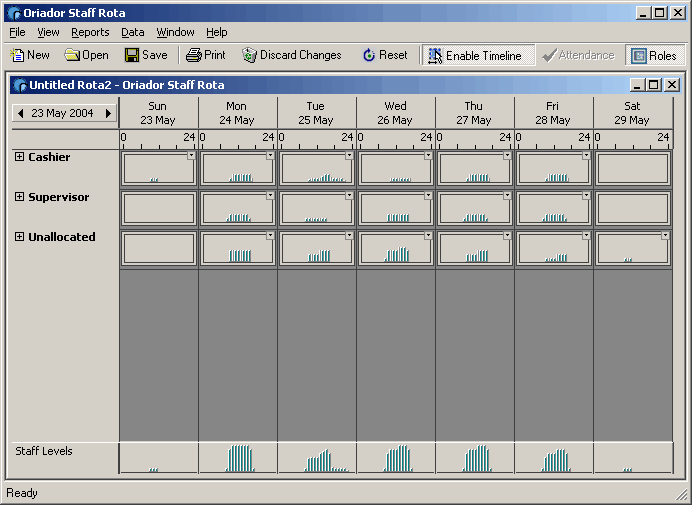
Once you have set up some staff details, the best thing to do is just to create a new Rota. This is done either by clicking the New button on the main screen toolbar, or by selecting New Rota from the file menu. (See: Main Menu).
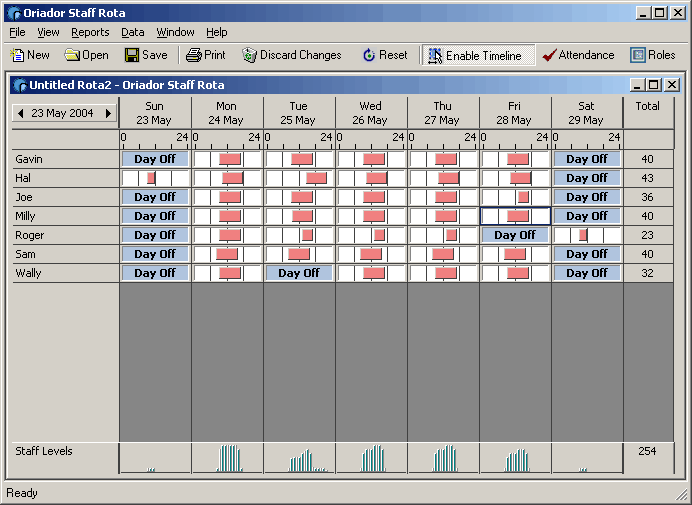
Your new rota will be displayed. (See: Rota Details).
You now have all the basic information needed to create and manipulate rotas with Oriador Rota. To learn more, take a look at Staff Roles, Staff Roles View, Staff Attendance View, and the Staff Diary.